How To Create Amazon Premium A+ Content?

In our previous article on Understanding Amazon Premium A+ Content, many readers have approached us and wanted to learn more about the steps involved in creating Premium A+ Content that boosts sales and brand awareness.
Before you dive into the step-by-step walkthrough on Amazon Premium A+ Content creation, you must be a brand owner who has been accepted in the Amazon Launchpad Program. To see how to participate in the Launchpad program, you can see the application and eligibility here.
If you are already a Launchpad member, log into to your Seller Central,
- Go to the Advertising menu, and choose A+ Content Manager

2. Select Start creating A+ content

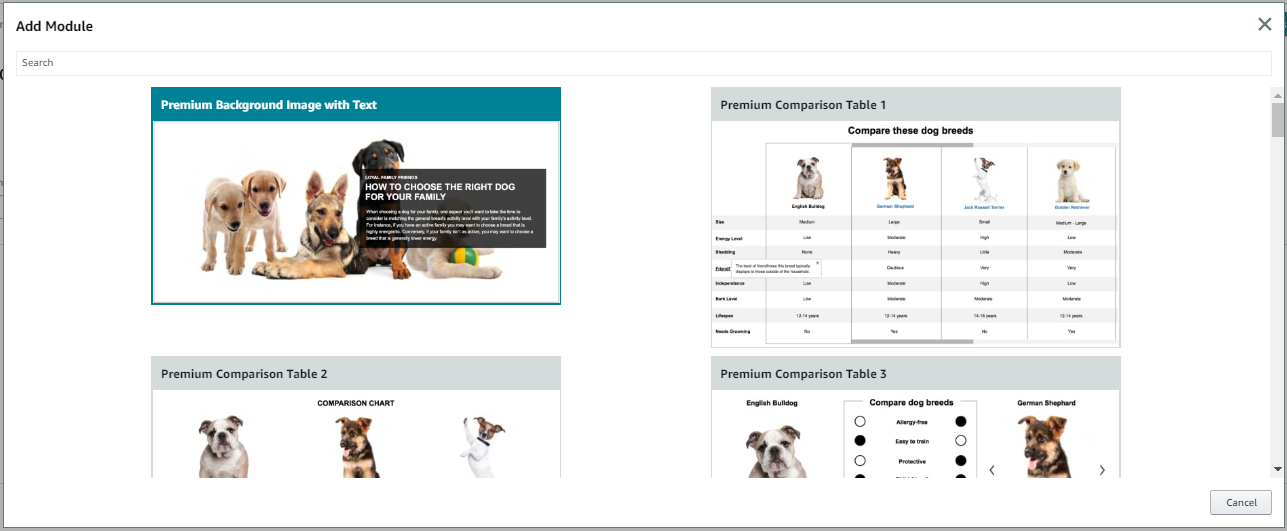
3. Select Add Module

4. Select your modules (Only eligible sellers see the Premium Modules)

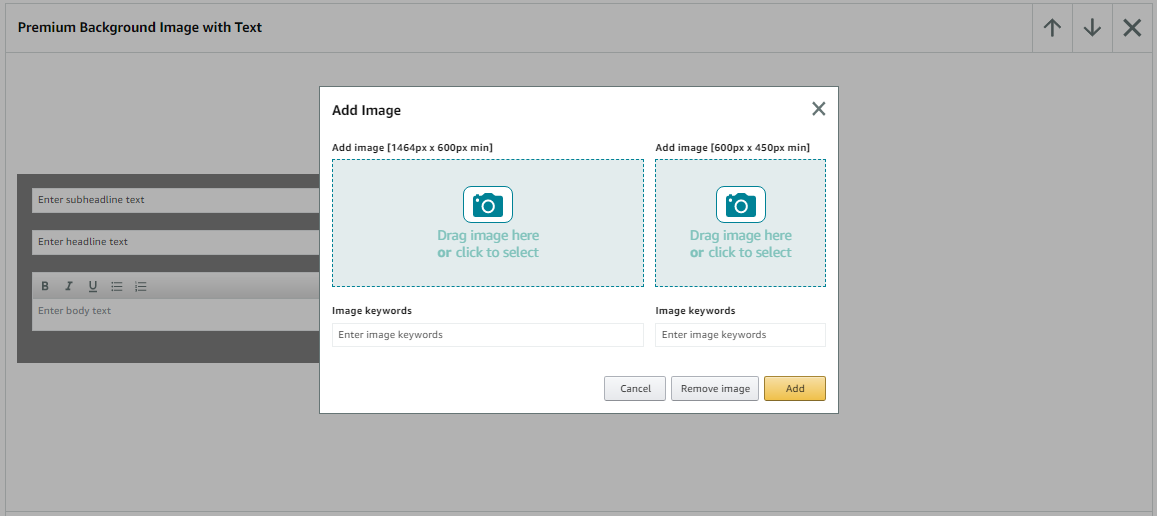
5. To demonstrate, we choose Premium Background Image with Text module for example. It’s convenient that Amazon shows the required image sizes.

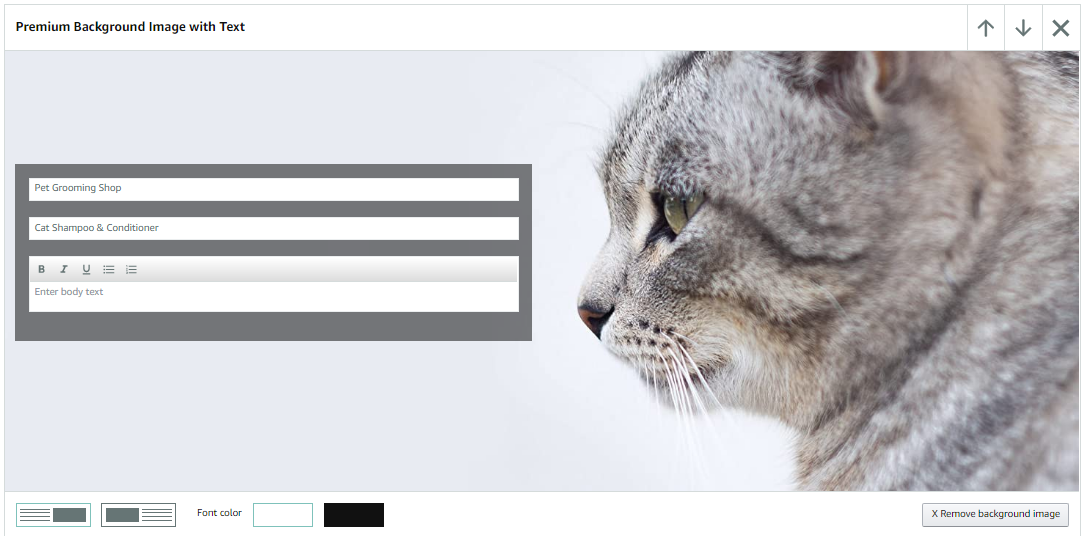
6. Select an image from your computer and enter the text

7. Once you select the modules to fit your needs, the next step is to apply ASINs to each module to direct shoppers to the specific listings. Then you can submit for Amazon’s approval.


What content should I put?
You should use this tool to showcase your brand and feature highlights to attract shoppers and convert traffic into sales. Here are the items you should focus on when creating the best Premium A+ template.
- Your logo and a branded story or images to show your brand’s unique value proposition
- Key benefits/features of your products
- How to use or testimonial
- FAQ
- Product specifications
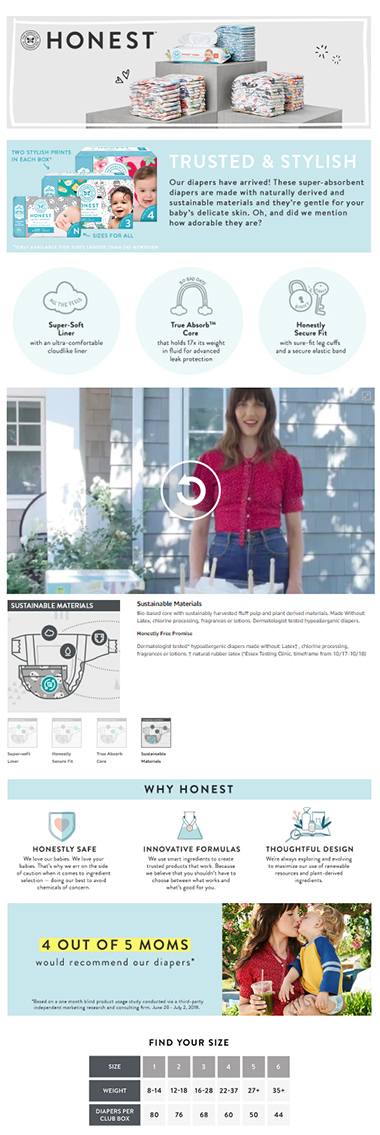
Here’s a good example of an Amazon A+ Premium Content template:

Amazon Premium A+ Content can help not only boost sales and increase visibility in Amazon product searches but also reduce Amazon advertising cost of sales. After you’ve created your A+ Content, your next step is to optimize Amazon SEO for your listings with high converting keywords to drive more traffic and improve your sales performance.


